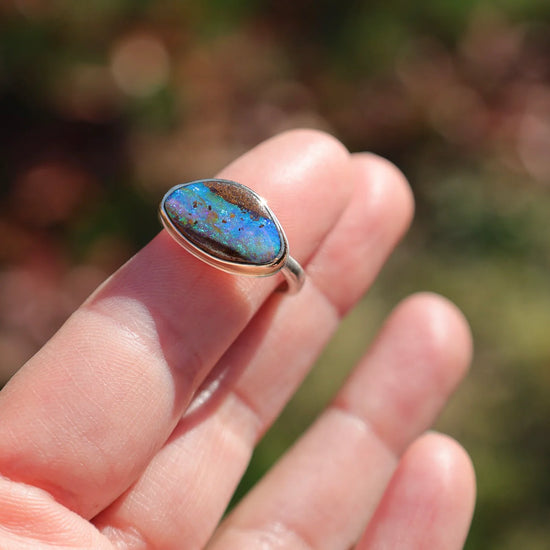


If you have every owned a piece of sterling silver jewelry, you are most likely familiar with the appearance of sterling that has tarnished, yellowed, darkened, or looks "dirty." Although pure silver is not very susceptible to tarnish, it is a very soft metal. Sterling silver is made with an alloy, meaning that other metal is added to make it more durable and practical for wearing as jewelry. This means that all sterling silver can inevitably begin to tarnish as a result of a chemical reaction. This can be a very slow process if the jewelry has minimal contact with oxygen, moisture, pollution, and various everyday chemicals, or a very quick process if there is more exposure to these elements.

So, the first step to keeping sterling silver looking clean and shiny is to treat and store your jewelry in a way that protects it from these reactions. Avoid contact with hair products, skin products, and perfumes by putting your jewelry on after using these items, rather than before. Avoid swimming in your jewelry, and always dry it off after it gets wet for any reason. Store it in a dry place, preferably sealed off from outside air especially if it is humid.

Yet, eventually, you will probably have some sterling silver that begins to show signs of tarnish at some point. It is best to clean it sooner rather than later, to reduce the amount of effort you have to put into cleaning it. Silver polishing cloths are a great option to clean, bring back shine, and take away dirty marks. It is a soft cloth with an inner cloth that is treated specifically to clean silver jewelry. There are also chemical jewelry cleaners that you can purchase, but we like the following method of cleaning if you need to do more than shine it up with a cloth. This process is effective, gentle, and eco-friendly, and only requires some simple household items that you probably already have!
Before you get started - make sure that your piece is made of materials that can be cleaned by this method:

You will need: your tarnished jewelry (it can help to pre-wash with water and mild soap to remove any dirt and oils), baking soda, aluminum foil, a dish or bowl, boiling water, and a clean dry cloth. You may also want a toothbrush if you have some stubborn areas of tarnish or little crevices.

First prepare your dish where the cleaning will occur. Tear off a piece of aluminum foil and completely line the dish with it. Then add baking soda, approximately 1 tablespoon per cup of water that you will be using. The amount of water you need will depend on the size of your dish and the jewelry you are cleaning - any amount will work as long as the jewelry is submerged in the water. In this example we cleaned 2 bracelets, a pair of earrings, and a necklace in an 8x8 square dish with 2 cups of water and 2 tablespoons of baking soda.
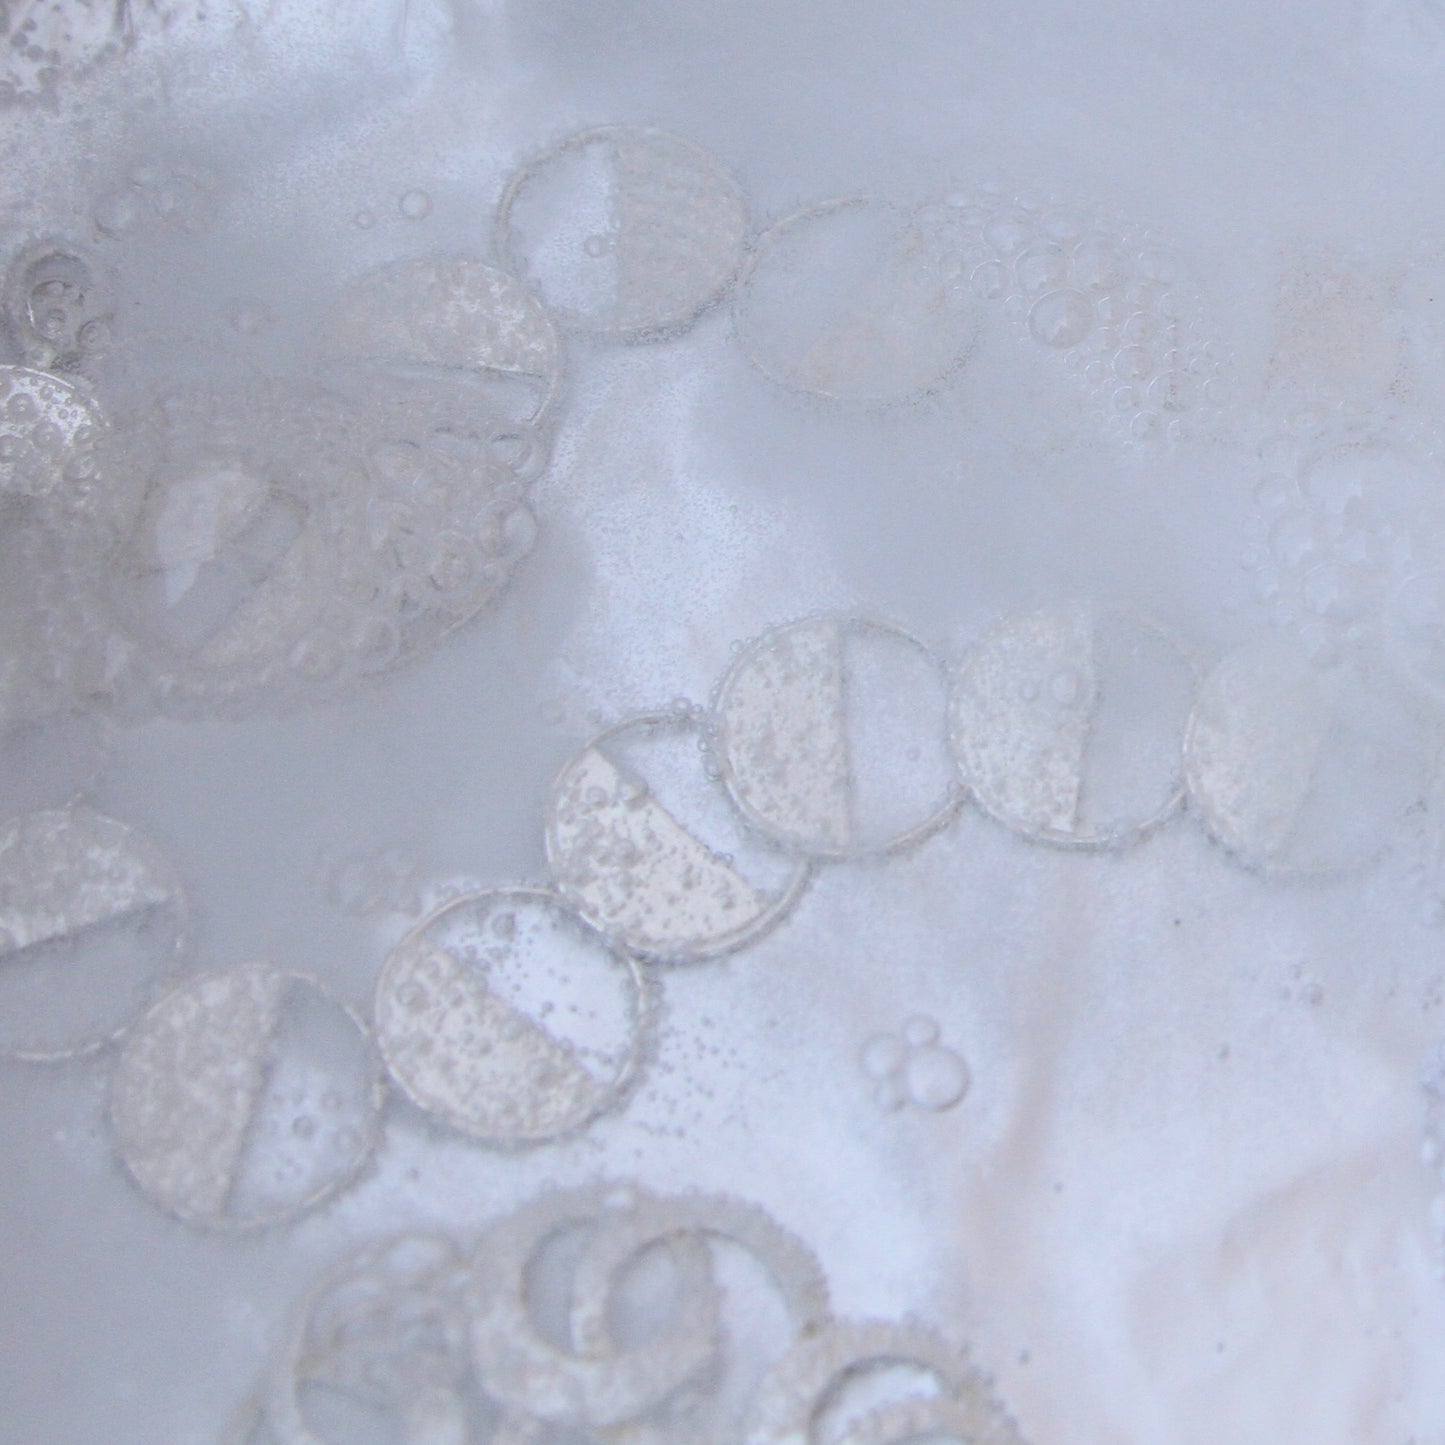
After your dish with foil and baking soda is prepared, bring your water to a full boil. Lay your jewelry in the dish, spaced out so that everything is fully touching the foil and will be fully covered by water. Carefully pour your boiling water into the dish, and enjoy the bubbly, fizzing reaction!


You will probably notice your jewelry become clean almost instantly because of the chemical reaction taking place. You can leave it in the solution for about 2 to 10 minutes depending on how tarnished the piece was. Usually, it will come out looking perfectly clean, but if there are still some stubborn spots you can either repeat the process or use a little baking soda on a toothbrush to gently scrub at any areas that still look tarnished. This may happen in tight spaces or if your piece was very severely tarnished.

When you are happy with the result, rinse the jewelry under clean water and then dry it very, very well. You don't want to help the tarnishing process get started again right away by leaving moisture on your newly cleaned jewelry! You can use a soft cloth to bring back shine and make sure everything is very dry. Or, go over it with a hair dryer for even more thorough drying!


Wear and enjoy!